
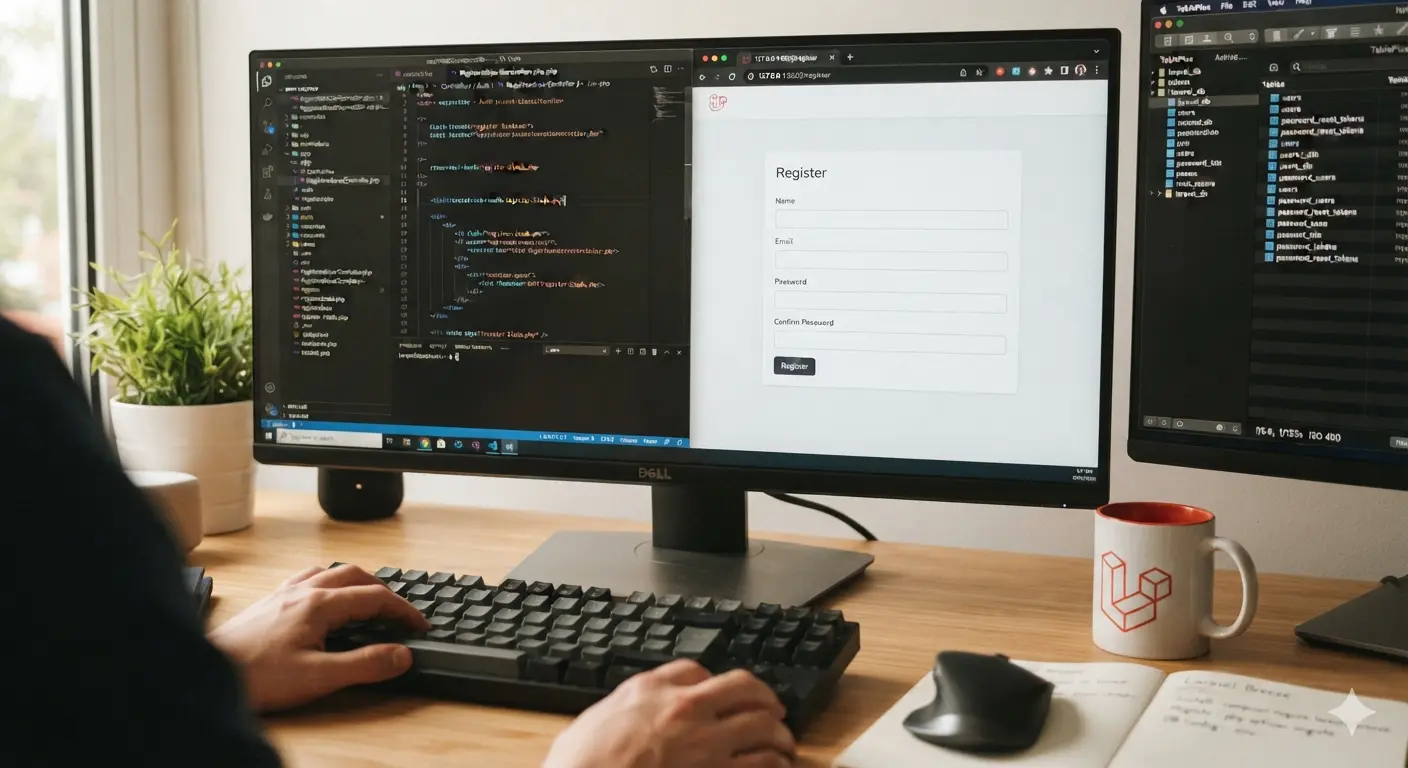
Welcome to this beginner-friendly Laravel Breeze tutorial. This guide assumes you have zero knowledge of Laravel. By the end of this tutorial, you will:
- Install Laravel
- Install Laravel Breeze
- Create your first page
- Register and log in users
- Understand authentication
- Connect Laravel to a database using phpMyAdmin
- Protect routes with middleware
Chapter 1: What is Laravel Breeze?
Laravel Breeze is Laravel’s official starter kit. It provides a ready-made authentication system including:
- Login
- Registration
- Password Reset
- Email Verification (optional)
- User Dashboard
- Logout
Instead of building these features yourself, Breeze creates them automatically.
Chapter 2: Requirements
Before installing Laravel, install the following software.
PHP
Laravel requires PHP.
Check your version:
php -v
Composer
Composer is PHP’s package manager.
Check installation:
composer -V
Node.js
Laravel Breeze uses Node.js to compile CSS and JavaScript.
Check:
node -v
npm
Check:
npm -vChapter 3: Create Your First Laravel Project
Open Terminal.
Run:
composer create-project laravel/laravel breeze-app
Move into the project.
cd breeze-appChapter 4: Open Project
If using VS Code:
code .Chapter 5: Install Breeze
Run:
composer require laravel/breeze --dev
Install Breeze.
php artisan breeze:installChoose the following options:
Question: Which Breeze stack would you like to install? Answer: Blade with Alpine is a simple and beginner-friendly choice because it uses Blade templates and lightweight Alpine.js for basic interactivity. Type Blade and press Enter.
Question: Would you like dark mode support? (yes/no) [no] Answer: This question asks whether you want your application to include a dark theme option. Type yes if you want dark mode support. Type no if you do not want dark mode support. For beginners, you can simply press Enter to accept the default answer, which is no.
Question: Which testing framework do you prefer? [Pest] Answer: Pest is a modern and beginner-friendly testing framework for Laravel. It uses a clean and readable syntax, which makes writing tests easier to understand. For this tutorial, you can simply press Enter to accept the default option, which is Pest.
After you answer these questions, Laravel will begin setting up Breeze automatically. During this process, it will publish the authentication files, configure the starter kit, and prepare the project for use. Wait until the installation finishes before moving to the next step.
Install JavaScript packages.
npm install
Compile assets.
npm run devChapter 6: Configure Database
Before running migrations, connect Laravel to your database using phpMyAdmin.
Enter a database name, for example laravel. You can use any database name you want.
Update the .env File
Open the .env file in your Laravel project and update the database settings.
Example:
DB_CONNECTION=mysql
DB_HOST=localhost
DB_PORT=3306
DB_DATABASE=laravel
DB_USERNAME=root
DB_PASSWORD=
Explanation
DB_CONNECTION=mysqltells Laravel to use MySQLDB_HOST=localhostmeans the database is on your local computerDB_PORT=3306is the default MySQL portDB_DATABASE=laravelis the name of your databaseDB_USERNAME=rootis your MySQL usernameDB_PASSWORD=is your MySQL password
If your MySQL password is not empty, place it inside DB_PASSWORD.
Run Migrations
Now run:
php artisan migrate
Laravel will create all required tables in your MySQL database, and you will be able to see them inside phpMyAdmin.
Chapter 7: Start the Server
php artisan serve
Visit:
http://127.0.0.1:8000
You should now see:
- Login
- Register
Chapter 8: Register a User
Click Register.
Fill:
- Name
- Password
- Confirm Password
Click Register.
Laravel automatically logs you in.
Chapter 9: Login
Logout.
Click Login.
Enter:
- Password
You are authenticated.
Chapter 10: Authentication Flow
When a user registers:
- User fills the form.
- Laravel validates the input.
- Password is encrypted.
- User is saved in the MySQL database.
- User is logged in automatically.
- Session is created.
Chapter 11: Database
This tutorial uses MySQL as the database system, and phpMyAdmin is used to manage it.
Laravel stores user data and authentication records in MySQL tables.
The most common tables created by Laravel Breeze include:
userspassword_reset_tokenssessionscachejobs(if enabled)
If you want to check your database manually, open phpMyAdmin and look at the tables created after running migrations.
Chapter 12: Important Breeze Files
Routes:
routes/web.php
Authentication controllers:
app/Http/Controllers/Auth/
Views:
resources/views/auth/
Dashboard:
resources/views/dashboard.blade.php
Layout:
resources/views/layouts/
Chapter 13: Protect Routes
Only logged-in users should access the dashboard.
Laravel uses middleware.
Example:
Route::middleware('auth')->group(function () {

    Route::get('/dashboard', function () {

        return view('dashboard');

    });

});
Chapter 14: Logout
Click Logout.
Laravel:
- Destroys the session
- Logs out the user
- Redirects to the home page
Chapter 15: What You’ve Learned
Congratulations!
You have learned how to:
- Install Laravel
- Install Breeze
- Run a Laravel project
- Connect Laravel to MySQL using phpMyAdmin
- Register users
- Log in users
- Understand authentication
- Protect routes with middleware
- Run database migrations
Happy coding with Laravel and MySQL!