
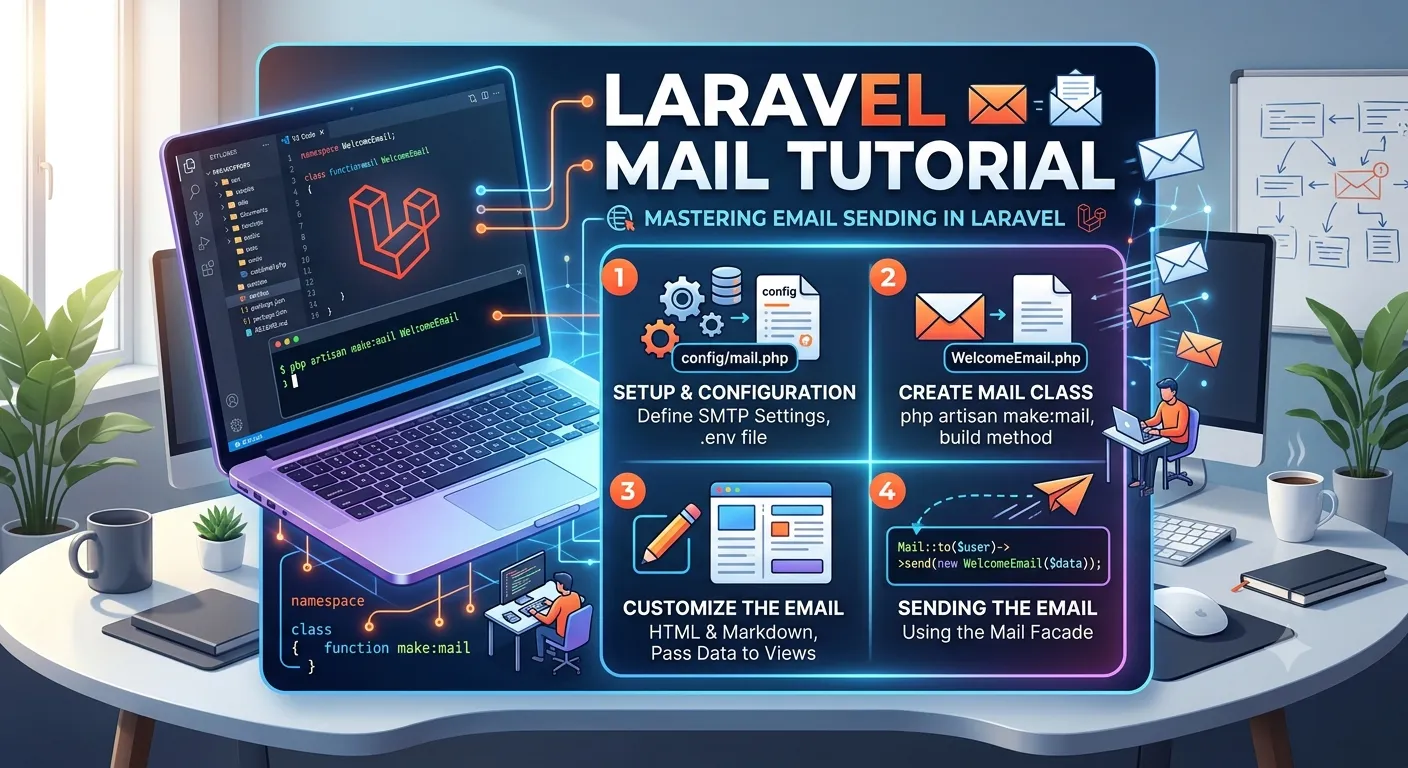
Laravel Mail Tutorial helps you learn how to send emails in Laravel using the built-in Mail features. This tutorial covers configuring SMTP settings, creating Mailable classes, designing email templates with Blade, sending plain text and HTML emails, attaching files, queuing emails, and testing email delivery. It is suitable for beginners and developers who want to implement reliable email functionality in their Laravel applications.
What is Email in Laravel?
Laravel allows us to send emails from our website or application. For example:
- Welcome emails
- Password reset emails
- Contact form messages
- Notifications
Step 1: Create a New Laravel Project
Open Terminal and run:
composer create-project laravel/laravel MailProject
Move into the project folder:
cd MailProject
Start the server:
php artisan serve
Step 2: Configure Mail Settings
Open the .env file.
Add or update these settings:
MAIL_MAILER=smtp
MAIL_SCHEME=null
MAIL_HOST=smtp.gmail.com
MAIL_PORT=587
MAIL_USERNAME=your_email@gmail.com
MAIL_PASSWORD=your_app_password
MAIL_ENCRYPTION=tls
MAIL_FROM_ADDRESS=your_email@gmail.com
MAIL_FROM_NAME="Laravel App"
Important
For Gmail:
- Enable Two-Factor Authentication.
- Create an App Password.
- Use the App Password instead of your Gmail password.
Step 3: Create a Mailable Class
Run:
php artisan make:mail WelcomeMail
Laravel creates:
app/Mail/WelcomeMail.php
Step 4: Create an Email View
Create a file:
resources/views/emails/welcome.blade.php
Add:
<!DOCTYPE html>
<html>
<head>
    <title>Welcome</title>
</head>
<body>
    <h1>Hello Student!</h1>
    <p>Welcome to Laravel Mail Tutorial.</p>
</body>
</html>
Step 5: Edit the Mailable Class
Open:
app/Mail/WelcomeMail.php
Use:
envelope()for the email subjectcontent()for the email viewattachments()if you want to add files
Update the code like this:
public function content(): Content
{
    return new Content(
        view: 'emails.welcome',
    );
}
Step 6: Create a Route to Send Email
Open:
routes/web.php
Add:
use Illuminate\Support\Facades\Mail;
use App\Mail\WelcomeMail;

Route::get('/send-mail', function () {

    Mail::to('student@example.com')
        ->send(new WelcomeMail());

    return "Email Sent Successfully!";
});
Replace:
student@example.com
with your own email address.
Step 7: Run the Application
Start the server:
php artisan serve
Visit:
http://127.0.0.1:8000/send-mail
You should see:
Email Sent Successfully!
Check your inbox.
Project Folder Structure
app/
 └── Mail/
      └── WelcomeMail.php

resources/
 └── views/
      └── emails/
           └── welcome.blade.php

routes/
 └── web.php
How It Works
- User visits
/send-mail. - Laravel creates a
WelcomeMailobject. - Laravel loads the email view.
- Laravel connects to Gmail SMTP.
- Email is delivered to the recipient.
Quick Revision
Create Mail Class
php artisan make:mail WelcomeMail
Send Mail
Mail::to('student@example.com')
    ->send(new WelcomeMail());
Email Template
return new Content(
    view: 'emails.welcome',
);
SMTP Configuration
MAIL_HOST=smtp.gmail.com
MAIL_PORT=587
Conclusion
Laravel makes sending emails easy using:
- Mail Configuration (
.env) - Mailable Classes
- Blade Email Templates
- Mail Facade
In Laravel 13.17.0, remember that build() is not used. Use envelope() and content() instead.
By following these steps, you can send welcome emails, notifications, and contact form messages from your Laravel application.