
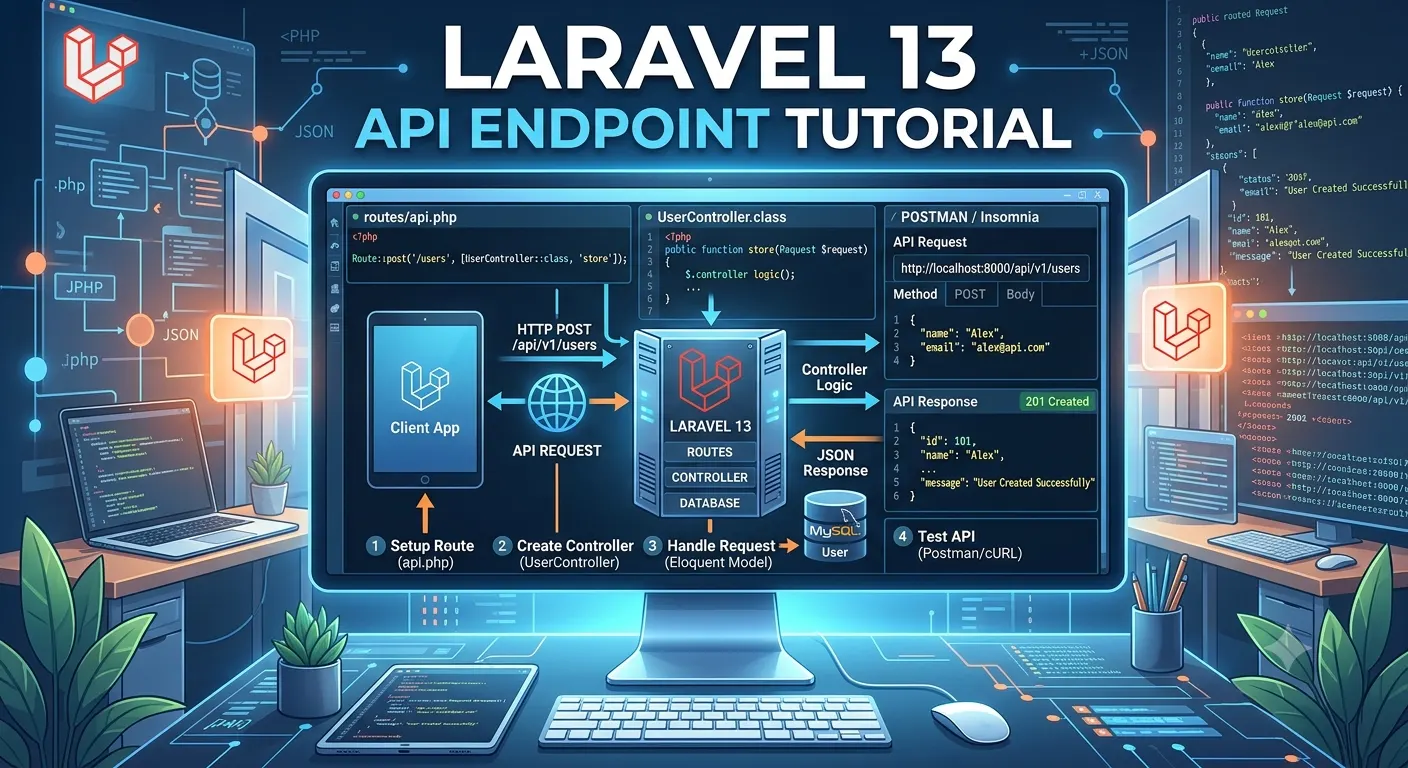
Part 3 – Laravel API Authentication with Sanctum
In this tutorial, you will learn how to secure your Laravel 13 API using Laravel Sanctum. This guide assumes that the basic Laravel setup, API support, database migration, and user model configuration have already been covered in a previous tutorial. Here, we will focus only on the authentication flow itself.
By the end of this tutorial, you will be able to:
- Understand what Laravel Sanctum is
- Create authentication endpoints for register, login, profile, and logout
- Generate API tokens for users
- Protect API routes using authentication
- Access authenticated user information
- Revoke API tokens when logging out
What is Laravel Sanctum?
Laravel Sanctum is Laravel’s lightweight authentication package for APIs and single-page applications (SPAs).
It uses API tokens to authenticate users instead of sessions, making it ideal for RESTful APIs used by mobile apps, JavaScript frontends, and third-party applications.
How Sanctum Authentication Works
The authentication process typically follows these steps:
- A user registers an account.
- The user logs in using their email and password.
- Laravel verifies the credentials.
- Laravel generates a unique API token.
- The client stores the token securely.
- The client sends the token with every protected API request.
- Laravel verifies the token before allowing access.
Prerequisites
Before continuing, make sure you already have:
- A Laravel 13 project created
- Sanctum installed and configured
- The
HasApiTokenstrait added to theUsermodel - Database migrations completed
- A working API route file
If those steps are already done, you can continue directly with the authentication controller.
Step 1: Create an Authentication Controller
Generate a controller:
php artisan make:controller AuthController
Laravel creates:
app/Http/Controllers/AuthController.php
Step 2: Add Authentication Methods
Open the controller and add the following code:
<?php

namespace App\Http\Controllers;

use App\Models\User;
use Illuminate\Http\Request;
use Illuminate\Support\Facades\Auth;
use Illuminate\Support\Facades\Hash;

class AuthController extends Controller
{
    public function register(Request $request)
    {
        $validated = $request->validate([
            'name' => 'required|string|max:255',
            'email' => 'required|email|unique:users,email',
            'password' => 'required|min:8|confirmed',
        ]);

        $user = User::create([
            'name' => $validated['name'],
            'email' => $validated['email'],
            'password' => Hash::make($validated['password']),
        ]);

        return response()->json([
            'message' => 'User registered successfully.',
            'user' => $user,
        ], 201);
    }

    public function login(Request $request)
    {
        $credentials = $request->validate([
            'email' => 'required|email',
            'password' => 'required',
        ]);

        if (!Auth::attempt($credentials)) {
            return response()->json([
                'message' => 'Invalid credentials.'
            ], 401);
        }

        $user = Auth::user();

        $token = $user->createToken('api-token')->plainTextToken;

        return response()->json([
            'message' => 'Login successful.',
            'token' => $token,
            'user' => $user,
        ]);
    }

    public function profile(Request $request)
    {
        return response()->json($request->user());
    }

    public function logout(Request $request)
    {
        $request->user()->currentAccessToken()->delete();

        return response()->json([
            'message' => 'Logged out successfully.'
        ]);
    }
}
Understanding the Methods
Register Method
The register method:
- Validates the incoming request
- Creates a new user
- Hashes the password before saving
- Returns a success response in JSON format
Login Method
The login method:
- Validates the email and password
- Checks whether the credentials are correct
- Generates a personal access token
- Returns the token and user data
Profile Method
The profile method:
- Returns the currently authenticated user
- Works only when a valid token is sent with the request
Logout Method
The logout method:
- Deletes the current access token
- Prevents the token from being used again
Step 3: Define API Routes
Open:
routes/api.php
Add the following routes:
use App\Http\Controllers\AuthController;

Route::post('/register', [AuthController::class, 'register']);
Route::post('/login', [AuthController::class, 'login']);

Route::middleware('auth:sanctum')->group(function () {

    Route::get('/profile', [AuthController::class, 'profile']);

    Route::post('/logout', [AuthController::class, 'logout']);

});
The auth:sanctum middleware protects the routes inside the group.
Only authenticated users with a valid token can access these endpoints.
Step 4: Register a User
POST
http://127.0.0.1:8000/api/register
Request body:
{
    "name": "John Doe",
    "email": "john@example.com",
    "password": "password123",
    "password_confirmation": "password123"
}
Example response:
{
    "message": "User registered successfully.",
    "user": {
        "id": 1,
        "name": "John Doe",
        "email": "john@example.com",
        "updated_at": "2025-01-01T00:00:00.000000Z",
        "created_at": "2025-01-01T00:00:00.000000Z"
    }
}
Step 5: Log In
POST
http://127.0.0.1:8000/api/login
Request body:
{
    "email": "john@example.com",
    "password": "password123"
}
Example response:
{
    "message": "Login successful.",
    "token": "1|xxxxxxxxxxxxxxxxxxxxxxxxxxxxxxxx",
    "user": {
        "id": 1,
        "name": "John Doe",
        "email": "john@example.com"
    }
}
Save the token because you will use it for future requests.
Step 6: Access Protected Routes
To access a protected route, include the token in the request header.
Header:
Auth Type: Bearer Token
In token Enter Bearer Token
Example request:
GET
http://127.0.0.1:8000/api/profile
If the token is valid, Laravel returns the authenticated user’s information.
Example response:
{
    "id": 1,
    "name": "John Doe",
    "email": "john@example.com",
    "created_at": "2025-01-01T00:00:00.000000Z",
    "updated_at": "2025-01-01T00:00:00.000000Z"
}
Step 7: Log Out
POST
http://127.0.0.1:8000/api/logout
Include the same Bearer Token in the request.
Laravel deletes the current token, and it can no longer be used.
Example response:
{
    "message": "Logged out successfully."
}
Common Authentication Responses
| Status Code | Meaning |
|---|---|
| 200 | Request successful |
| 201 | User created successfully |
| 401 | Invalid credentials or unauthorized |
| 404 | Resource not found |
| 422 | Validation failed |
Best Practices
- Always hash user passwords.
- Never expose API tokens publicly.
- Use HTTPS in production.
- Validate all incoming requests.
- Protect sensitive routes with
auth:sanctum. - Revoke tokens when users log out.
- Return consistent JSON responses.
- Keep authentication logic inside controllers or dedicated service classes as your project grows.
Summary
In this tutorial, you learned how to:
- Create authentication endpoints for Laravel 13
- Register new users
- Log users in
- Generate API tokens
- Protect API routes
- Retrieve authenticated user information
- Log users out by revoking API tokens
You now have a secure authentication system for your Laravel 13 API.
Laravel API Endpoint Tutorial Index
- Part 1 – Laravel API Endpoint Tutorial for Beginners
- Part 2 – Create a Simple Laravel CRUD API
- Part 3 – Laravel API Authentication with Sanctum