
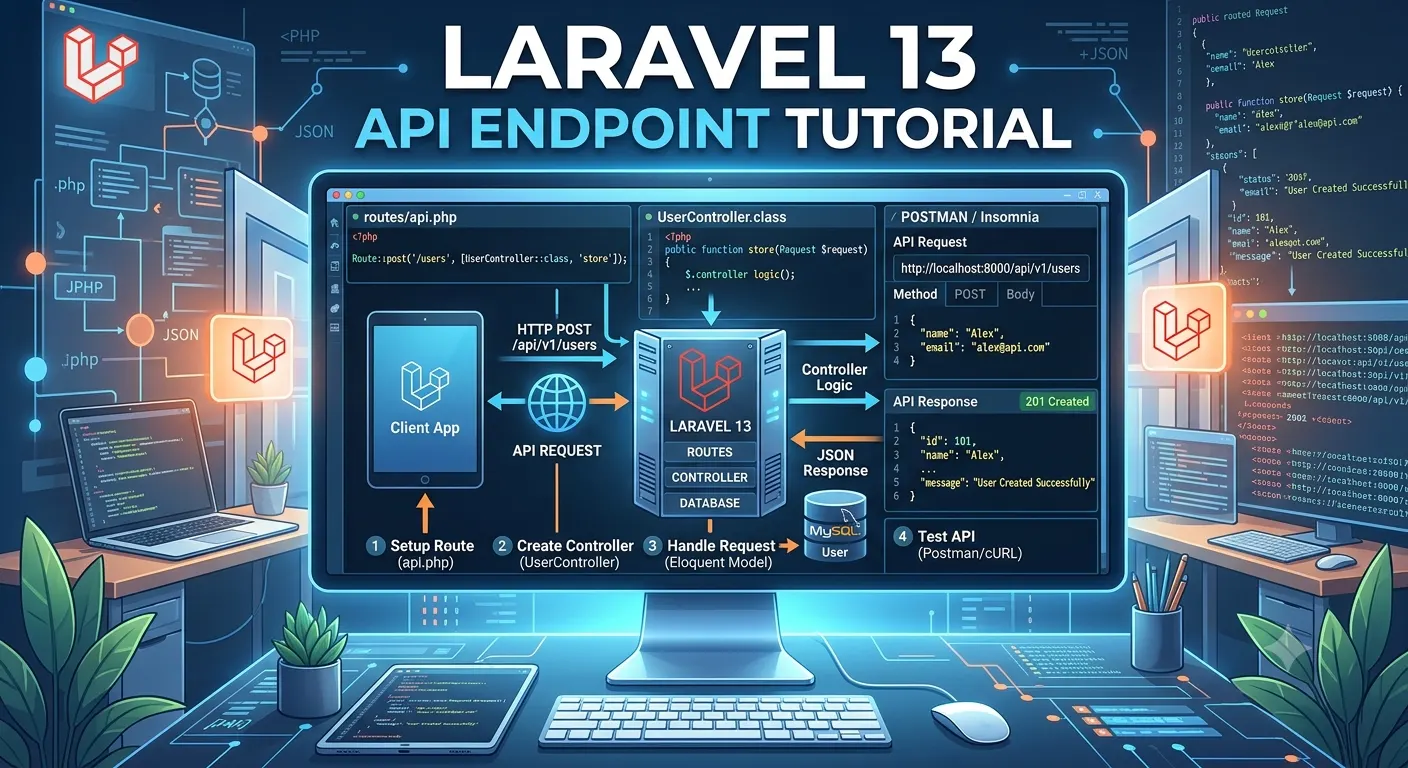
Part 1 – Laravel API Endpoint Tutorial for Beginners
In this guide, you will learn how to create your first API endpoint using Laravel 13.
By the end of this tutorial, you will know how to:
- Understand what an API is
- Create your first API endpoint
- Return JSON responses
- Test the API using Postman or a web browser
What is an API?
API stands for Application Programming Interface. An API allows different applications to communicate with each other.
For example:
- Mobile App ↔ Laravel API
- React Application ↔ Laravel API
- Vue Application ↔ Laravel API
- Angular Application ↔ Laravel API
Instead of returning HTML pages, APIs usually return JSON.
Example JSON response:
{
    "message": "Hello World"
}
Prerequisites
Before starting, install the following software:
- PHP 8.3 or later
- Composer
- Visual Studio Code
- Postman (for testing APIs)
Step 1: Install Laravel 13
Open your terminal.
Run:
composer create-project laravel/laravel laravel-api
Go inside the project.
cd laravel-api
Start the development server.
php artisan serve
You should see something similar to:
INFO Server running on:

http://127.0.0.1:8000
Open the URL in your browser.
If the Laravel welcome page appears, the installation is successful.
Set Up API Routing
In Laravel 13, API routes are usually placed in routes/api.php. To enable API routing and create the API route file, run this command in your terminal:
php artisan install:api
If you see this message after running the command:
One new database migration has been published. Would you like to run all pending database migrations? (yes/no) [yes]:
Laravel is asking permission to run the new database migrations that were added by the API setup command.
If you are following this tutorial and want to use Laravel API features, type:
yes
and press Enter.
This will create the required database tables for API support.
If you are not ready to use the database yet, you can type:
no
but for this tutorial, yes is the recommended choice.
If you already have important data in your database, make sure to back it up before running migrations.
Important: when you use routes/api.php, Laravel automatically adds the /api prefix to your routes. That means you should define /hello, not /api/hello, inside that file. If you write /api/hello in routes/api.php, the final URL becomes /api/api/hello.
Step 2: Create Your First API Route
Open:
routes/api.php
Add the following code:
use Illuminate\Support\Facades\Route;

Route::get('/hello', function () {
    return response()->json([
        'message' => 'Hello World'
    ]);
});
Save the file.
Understanding the Code
Route::get('/hello', function () {

});
This creates a GET endpoint.
GET
is the HTTP method.
/hello
is the endpoint path inside routes/api.php.
Because Laravel automatically adds the /api prefix to routes in routes/api.php, the full endpoint URL becomes:
/api/hello
Returning JSON
return response()->json([
    'message' => 'Hello World'
]);
This sends JSON back to the client.
Output:
{
    "message": "Hello World"
}
Step 3: Test the API
Start Laravel.
php artisan serve
Open your browser.
Visit:
http://127.0.0.1:8000/api/hello
You should see:
{
    "message": "Hello World"
}
Testing with Postman
- Open Postman.
- Select the GET method.
- Enter:
http://127.0.0.1:8000/api/hello
- Click Send.
Response:
{
    "message": "Hello World"
}
Congratulations! You have successfully created your first API endpoint.
Returning Multiple Values
Example:
Route::get('/user', function () {

    return response()->json([
        'id' => 1,
        'name' => 'John',
        'email' => 'john@example.com'
    ]);

});
Output:
{
    "id": 1,
    "name": "John",
    "email": "john@example.com"
}
Returning an Array
Route::get('/products', function () {

    return response()->json([

        [
            'id' => 1,
            'name' => 'Laptop'
        ],

        [
            'id' => 2,
            'name' => 'Mouse'
        ]

    ]);

});
Response:
[
    {
        "id": 1,
        "name": "Laptop"
    },
    {
        "id": 2,
        "name": "Mouse"
    }
]
HTTP Methods
Laravel supports several HTTP methods.
| Method | Purpose |
|---|---|
| GET | Retrieve data |
| POST | Create data |
| PUT | Update all data |
| PATCH | Update part of the data |
| DELETE | Delete data |
Examples:
Route::get(...);
Route::post(...);
Route::put(...);
Route::patch(...);
Route::delete(...);
Returning a Custom Status Code
return response()->json([
    'message' => 'Created Successfully'
], 201);
Status code:
201 Created
Common HTTP Status Codes
| Code | Meaning |
|---|---|
| 200 | OK |
| 201 | Created |
| 400 | Bad Request |
| 401 | Unauthorized |
| 403 | Forbidden |
| 404 | Not Found |
| 500 | Internal Server Error |
Example API Endpoints
Welcome API
Route::get('/welcome', function () {

    return response()->json([
        'message' => 'Welcome to Laravel 13 API'
    ]);

});
Profile API
Route::get('/profile', function () {

    return response()->json([
        'name' => 'John',
        'country' => 'USA',
        'age' => 25
    ]);

});
Status API
Route::get('/status', function () {

    return response()->json([
        'status' => true,
        'server' => 'Running'
    ]);

});
Best Practices
- Use meaningful endpoint names.
- Return JSON for API responses.
- Use proper HTTP status codes.
- Keep route logic simple.
- Move business logic to controllers as your application grows.
- Validate incoming request data.
- Handle errors gracefully.
Summary
In this tutorial, you learned:
- What Laravel is
- What an API is
- How to install Laravel 13
- How routing works
- How to create an API endpoint
- How to return JSON responses
- How to test APIs using a browser and Postman
- The basics of HTTP methods and status codes
You have now built your first Laravel API endpoint. As a next step, you can learn how to create controllers, connect to a database using Eloquent, perform CRUD operations, validate requests, and secure your APIs with authentication.
Laravel API Endpoint Tutorial Index
- Part 1 – Laravel API Endpoint Tutorial for Beginners
- Part 2 – Create a Simple Laravel CRUD API
- Part 3 – Laravel API Authentication with Sanctum