


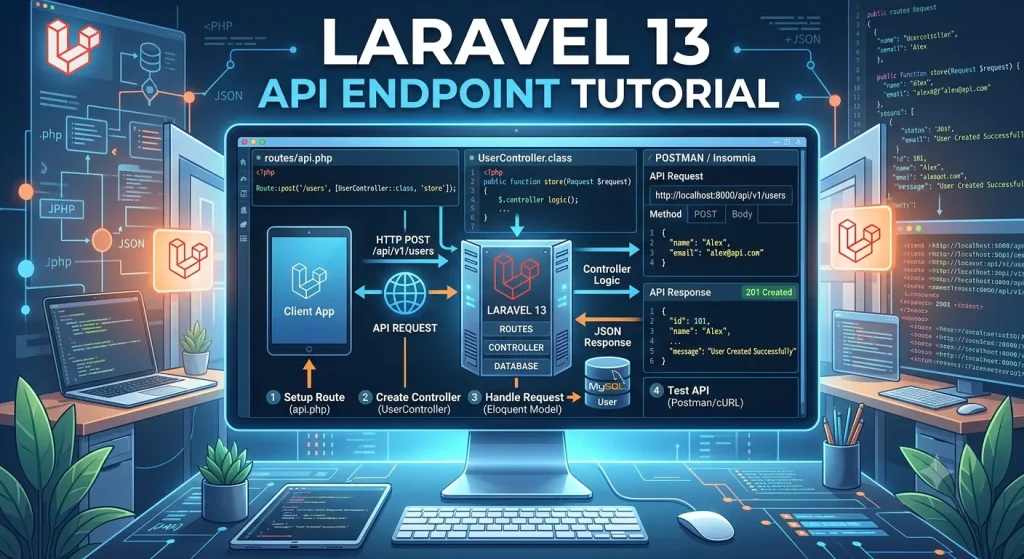
Congratulations on building your first Laravel 13 API endpoint (Part 1 Tutorial). Now that you understand the basics of API routing and returning JSON responses, you’re ready to explore more powerful Laravel features.
Part 2 – Create a Simple Laravel CRUD API
In this tutorial, you will learn how to create a basic API for managing products. This will help you understand how Laravel works with controllers, models, migrations, and JSON responses.
What You Will Build
You will create an API that can:
- Show all products
- Show one product
- Create a new product
- Update an existing product
- Delete a product
This is called CRUD:
- Create
- Read
- Update
- Delete
Step 1: Create a Controller
A controller helps keep your code organized. Instead of writing all logic inside routes, you place the logic inside a controller.
Run this command:
php artisan make:controller ProductController
This will create a new file here:
app/Http/Controllers/ProductController.php
Step 2: Create a Model and Migration
A model represents a database table.
Run this command:
php artisan make:model Product -m
This creates:
- A model file in
app/Models/Product.php - A migration file in
database/migrations/
Step 3: Define the Database Table
Open the migration file inside database/migrations/.
You will see a function like this:
public function up(): void
{
    Schema::create('products', function (Blueprint $table) {
        $table->id();
        $table->string('name');
        $table->text('description')->nullable();
        $table->decimal('price', 10, 2);
        $table->timestamps();
    });
}
This creates a products table with:
idnamedescriptionpricecreated_atupdated_at
Step 3.1: Configure the .env File Before Migrating
Before running the migration, you must connect Laravel to your database.
Open the .env file in the root of your project and update the database settings.
Example for MySQL:
DB_CONNECTION=mysql
DB_HOST=127.0.0.1
DB_PORT=3306
DB_DATABASE=laravel_api
DB_USERNAME=root
DB_PASSWORD=
Important
Make sure you create the database first in your MySQL server before running the migration.
For example, you can create a database named:
laravel_api
After updating the .env file and creating the database, save the file and then run the migration.
Now run the migration:
php artisan migrate
Step 4: Add Fillable Fields to the Model
Open app/Models/Product.php and update it like this:
<?php

namespace App\Models;

use Illuminate\Database\Eloquent\Model;

class Product extends Model
{
    protected $fillable = [
        'name',
        'description',
        'price',
    ];
}
The $fillable property allows Laravel to insert these fields safely.
Step 5: Add Routes
Open routes/api.php and add these routes:
use App\Http\Controllers\ProductController;
use Illuminate\Support\Facades\Route;

Route::get('/products', [ProductController::class, 'index']);
Route::get('/products/{id}', [ProductController::class, 'show']);
Route::post('/products', [ProductController::class, 'store']);
Route::put('/products/{id}', [ProductController::class, 'update']);
Route::delete('/products/{id}', [ProductController::class, 'destroy']);
These routes connect URLs to controller methods.
Why the URL does not include /api here
When you place routes inside routes/api.php, Laravel automatically adds the /api prefix.
So this route:
Route::get('/products', [ProductController::class, 'index']);
becomes:
http://127.0.0.1:8000/api/products
If your Laravel 13 project does not already include routes/api.php, make sure the API routes file is enabled in your application setup.
Step 6: Write the Controller Code
Open app/Http/Controllers/ProductController.php and replace the content with this:
<?php

namespace App\Http\Controllers;

use App\Models\Product;
use Illuminate\Http\Request;

class ProductController extends Controller
{
    public function index()
    {
        return response()->json(Product::all(), 200);
    }

    public function show($id)
    {
        $product = Product::find($id);

        if (!$product) {
            return response()->json([
                'message' => 'Product not found'
            ], 404);
        }

        return response()->json($product, 200);
    }

    public function store(Request $request)
    {
        $validated = $request->validate([
            'name' => 'required|string|max:255',
            'description' => 'nullable|string',
            'price' => 'required|numeric',
        ]);

        $product = Product::create($validated);

        return response()->json([
            'message' => 'Product created successfully',
            'product' => $product
        ], 201);
    }

    public function update(Request $request, $id)
    {
        $product = Product::find($id);

        if (!$product) {
            return response()->json([
                'message' => 'Product not found'
            ], 404);
        }

        $validated = $request->validate([
            'name' => 'sometimes|required|string|max:255',
            'description' => 'nullable|string',
            'price' => 'sometimes|required|numeric',
        ]);

        $product->update($validated);

        return response()->json([
            'message' => 'Product updated successfully',
            'product' => $product
        ], 200);
    }

    public function destroy($id)
    {
        $product = Product::find($id);

        if (!$product) {
            return response()->json([
                'message' => 'Product not found'
            ], 404);
        }

        $product->delete();

        return response()->json([
            'message' => 'Product deleted successfully'
        ], 200);
    }
}
Step 7: Test the API
Start the Laravel server:
php artisan serve
Now test the endpoints in your browser or Postman.
Create a Product
POST
http://127.0.0.1:8000/api/products
Request body in JSON:
{
    "name": "Laptop",
    "description": "A powerful laptop",
    "price": 1200
}
Get All Products
GET
http://127.0.0.1:8000/api/products
Get One Product
GET
http://127.0.0.1:8000/api/products/1
Update a Product
PUT
http://127.0.0.1:8000/api/products/1
Request body in JSON:
{
    "name": "Gaming Laptop",
    "price": 1500
}
If the update request does not work when you use raw JSON in the request body, try using x-www-form-urlencoded in Postman.
Delete a Product
DELETE
http://127.0.0.1:8000/api/products/1
Step 8: Understand Validation
Validation checks if the data sent by the user is correct.
Example:
$request->validate([
    'name' => 'required|string|max:255',
    'price' => 'required|numeric',
]);
This means:
nameis requirednamemust be a stringnamecannot be longer than 255 characterspriceis requiredpricemust be a number
If validation fails, Laravel automatically returns an error response.
Step 9: What is Eloquent?
Eloquent is Laravel’s built-in ORM.
ORM stands for Object-Relational Mapping.
Eloquent allows you to work with database tables using PHP code instead of writing raw SQL.
Example:
Product::all();
Product::find(1);
Product::create($data);
$product->update($data);
$product->delete();
Step 10: Next Topic — Authentication
Once you understand CRUD, the next step is to protect your API.
Authentication helps you make sure only logged-in users can access certain endpoints.
In Laravel, you can use tools like:
- Laravel Sanctum
- Laravel Passport
These tools help you secure your API with tokens.
Summary
In this tutorial, you learned how to:
- Create a controller
- Create a model
- Create a migration
- Build a products table
- Use Eloquent ORM
- Create CRUD API endpoints
- Validate request data
- Return JSON responses
- Understand why API routes belong in
routes/api.php
This is the foundation of building real-world Laravel APIs.